I’ve partnered with
Plugrá European-Style Butter for this blog post. Plugrá has compensated me for
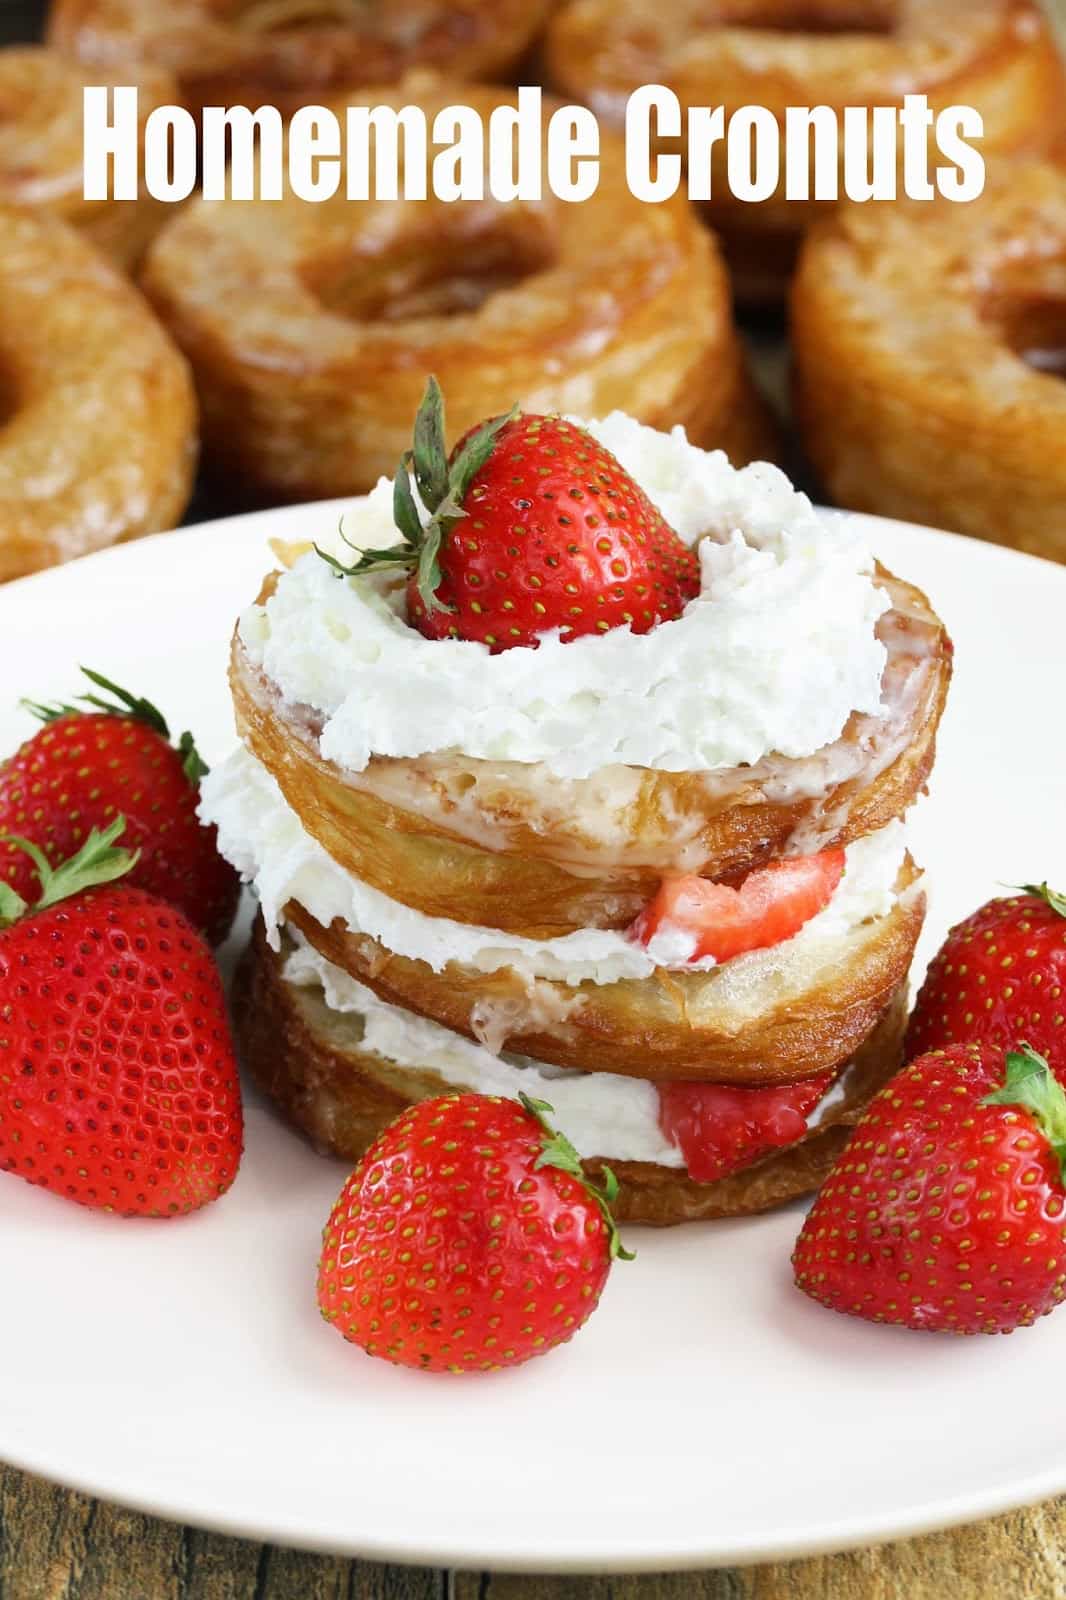
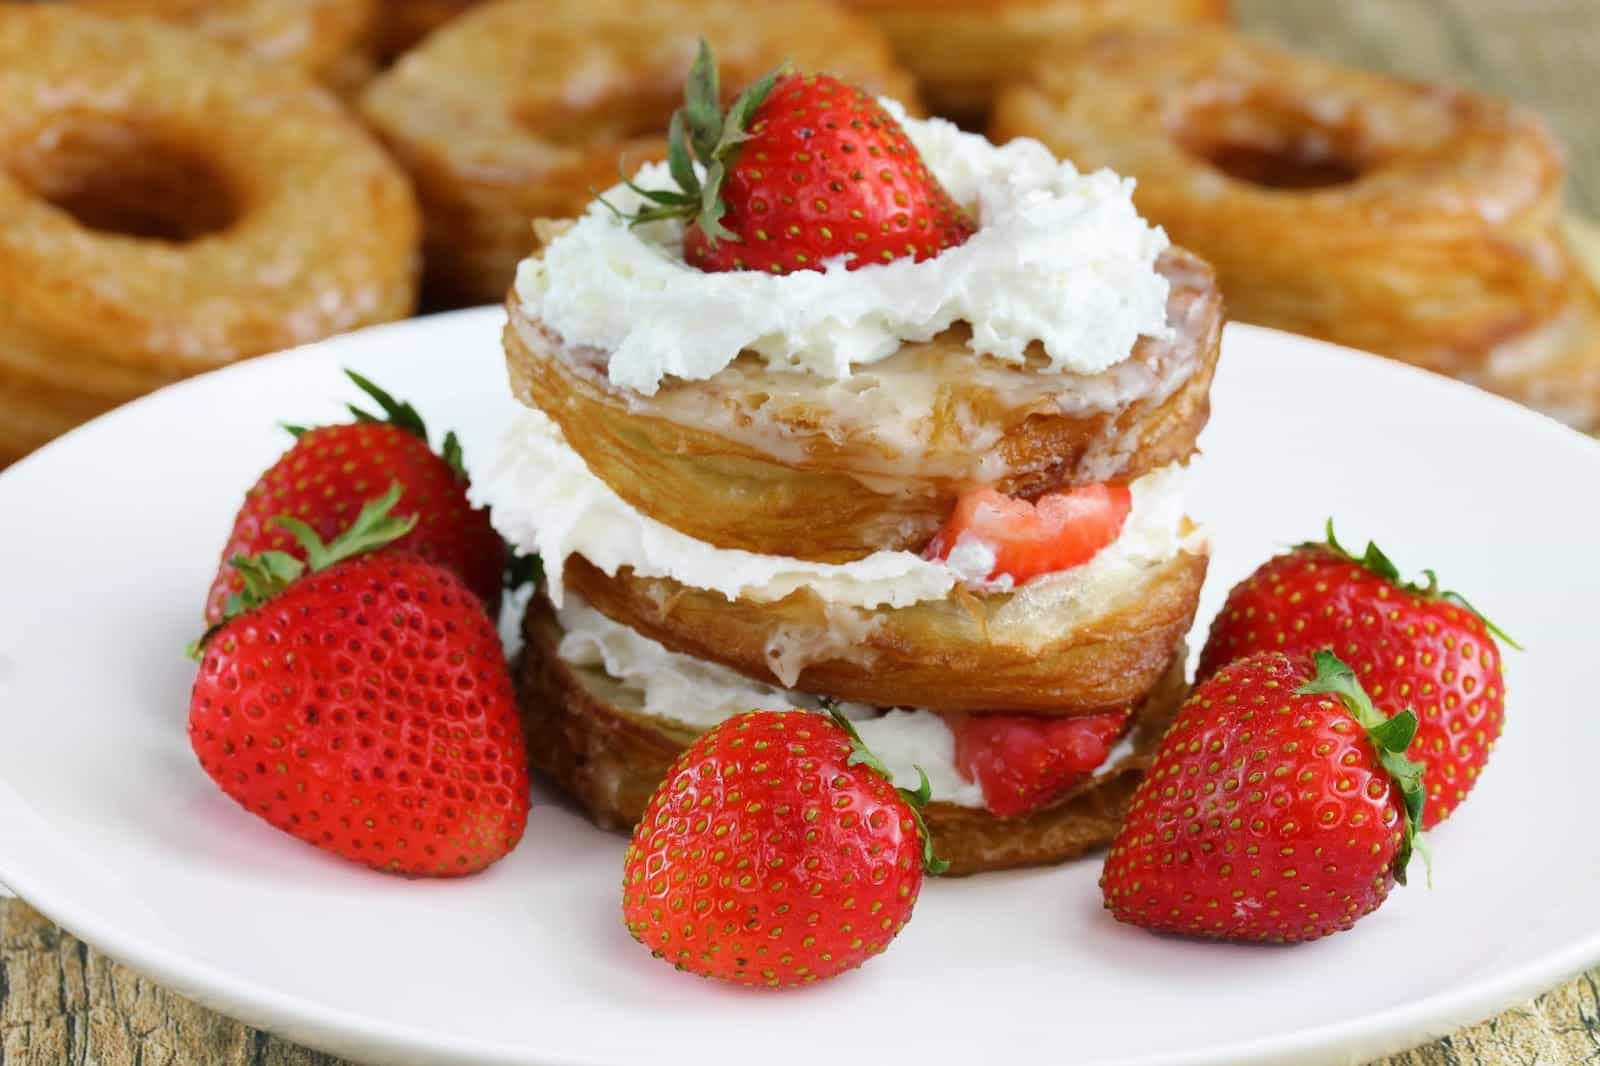
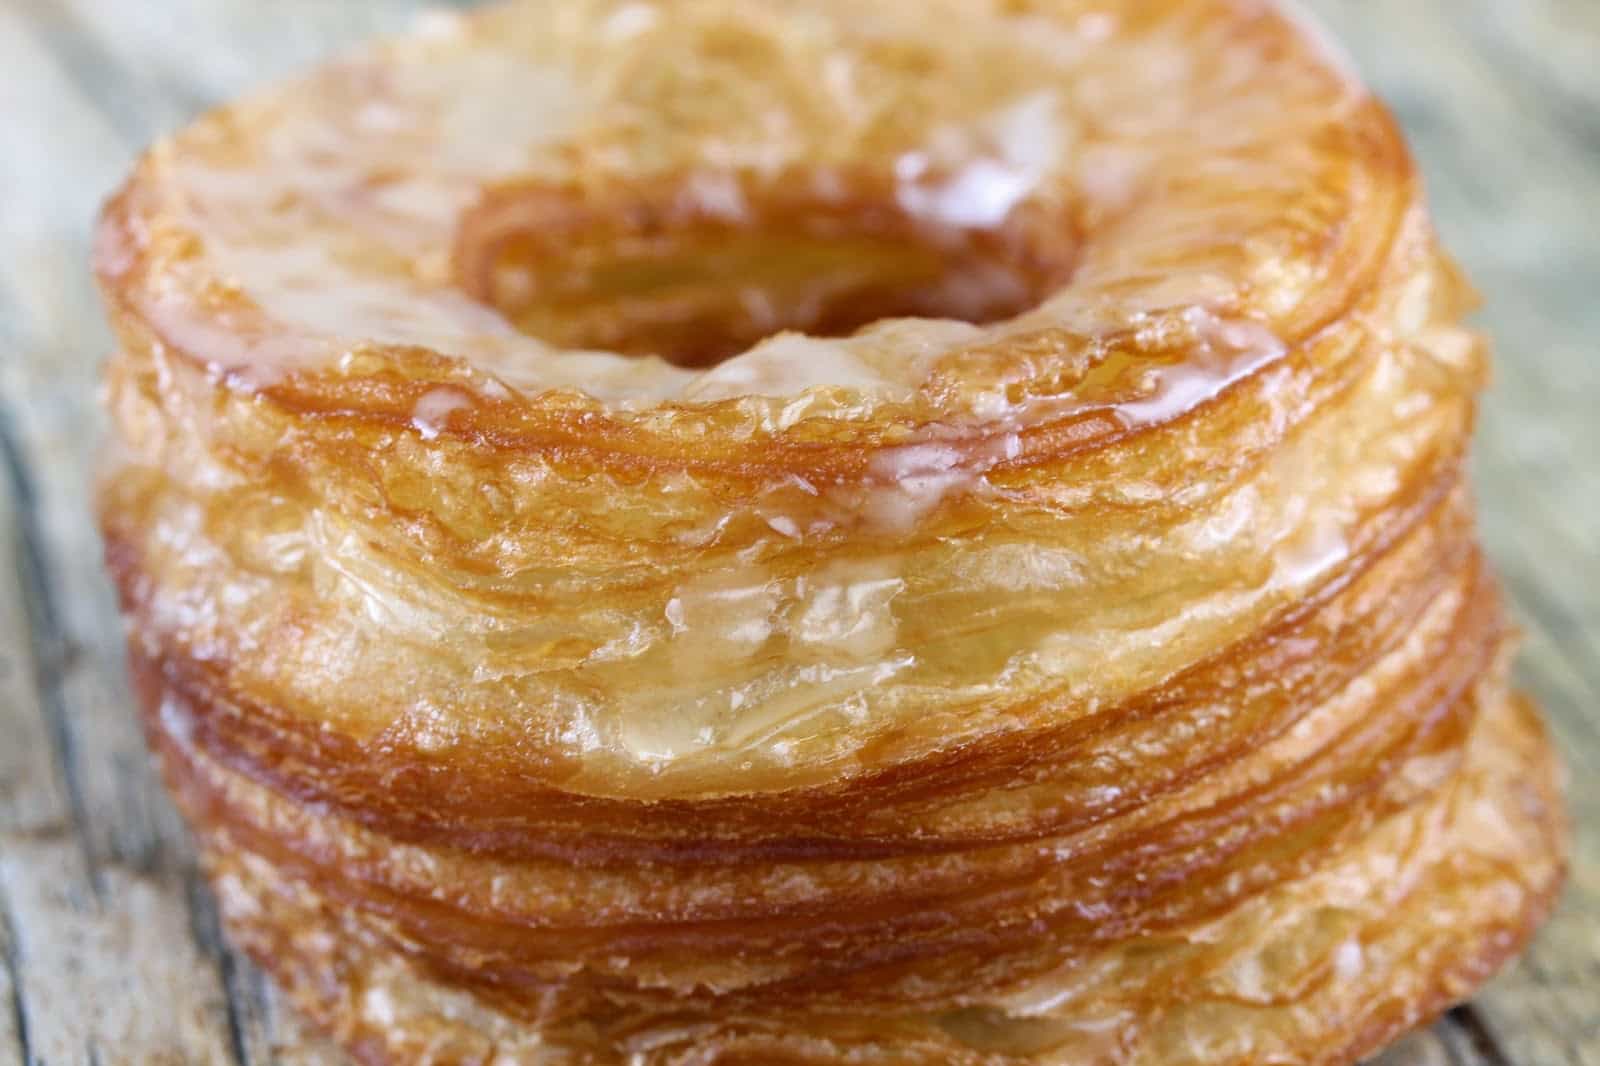
my time and recipe development, but all my opinions are my own. Cronuts: the famous donuts from Dominique Ansel in New York City that combine croissants and donuts for one amazing pastry called a cronut. When we were living in San Diego we had a local donut shop that sold these amazing things. We tried all the flavors and fell in love with the simple whipped cream and strawberries. There was something just so refreshingly delicious about it I could hardly resist driving past the place without stopping in for a cronut or two. Now that we’ve moved to Utah I needed a way to meet my cronut needs. I have yet to be able to find a place in the entire state that sells cronuts. This is a common problem so I knew it was time to make my own and share it with my readers so that you too could experience the glorious cronut.
Don’t be intimidated by the fact that this recipe takes 3 days to make. I broke down the actual time you have to spend hands on each day for you and it isn’t that bad at all. You really can do this! I’ve included pictures for the complicated steps so there is no confusion.
I’ve used Plugrá Butter in this recipe. It has a higher fat content than your standard butter which gives your croissant flavor a better texture and flavor. It is sold at the grocery store down the road from me so it isn’t hard to find. They have a product locator HERE. I’ve tried it with just regular store-brand butter and it just didn’t turn out as flaky and delicious.
I have to tell you that my husband said these homemade ones might have actually been better than the ones at our beloved cronut shop in San Diego. I haven’t tasted the original one in NYC (though I hope to next year). This is a good down-home version you can totally make at home. I hope you fall in love with the cronut as I did!
Ready In: 3 days
Day 1 Hands On Time: 20 minutes
Day 2 Hands On Time: 20 minutes
Day 3 Hands On Time: 45 minutes
Yield: 1 dozen
Ingredients
Pastry Dough
3 1/2 cups all-purpose flour
1 TB salt
1/4 cup + 1 TB granulated sugar
1 TB + 1 1/2 tsp instant yeast
1 cup + 2 TB lukewarm water
1 large egg white
8 TB unsalted
Plugrá butter, softened
1 TB heavy cream
Butter Block
8 oz unsalted
Plugrá Butter, softened
Other
nonstick cooking spray, as needed
plastic wrap
parchment paper
4 cups vegetable oil
1/2 cup powdered sugar
whipped cream
sliced strawberries
Instructions
DAY 1
1. In the bowl of a stand mixer, use the dough hook to mix together flour, salt, sugar, yeast, water, egg white, 8 TB butter, an heavy cream. Mix until combined.
2. Transfer to a large lightly greased bowl. Cover with a tea towel and let rise 2 to 3 hours until double.
3. Punch down and fold the edges towards the center. Transfer to a piece of parchment paper and shape into a 10-inch square.
4. Place the dough and parchment paper onto a sheet pan. Cover the pan with plastic wrap and refrigerate over night.
5. Make the butter block by drawing a 7-inch square onto a piece of parchment paper. Turn the paper upside down so that the ink side won’t touch the butter. Place the butter on the center of the square and top with another piece of parchment paper. Use a rolling pin to roll the butter out onto the square, spreading with a butter knife as needed towards the end. Transfer the parchment paper to a hard surface like another baking sheet, cover with plastic wrap, and refrigerate over night.
DAY 2
1. Remove the butter and dough from the refrigerator and let stand at room temperature for 20-30 minutes.
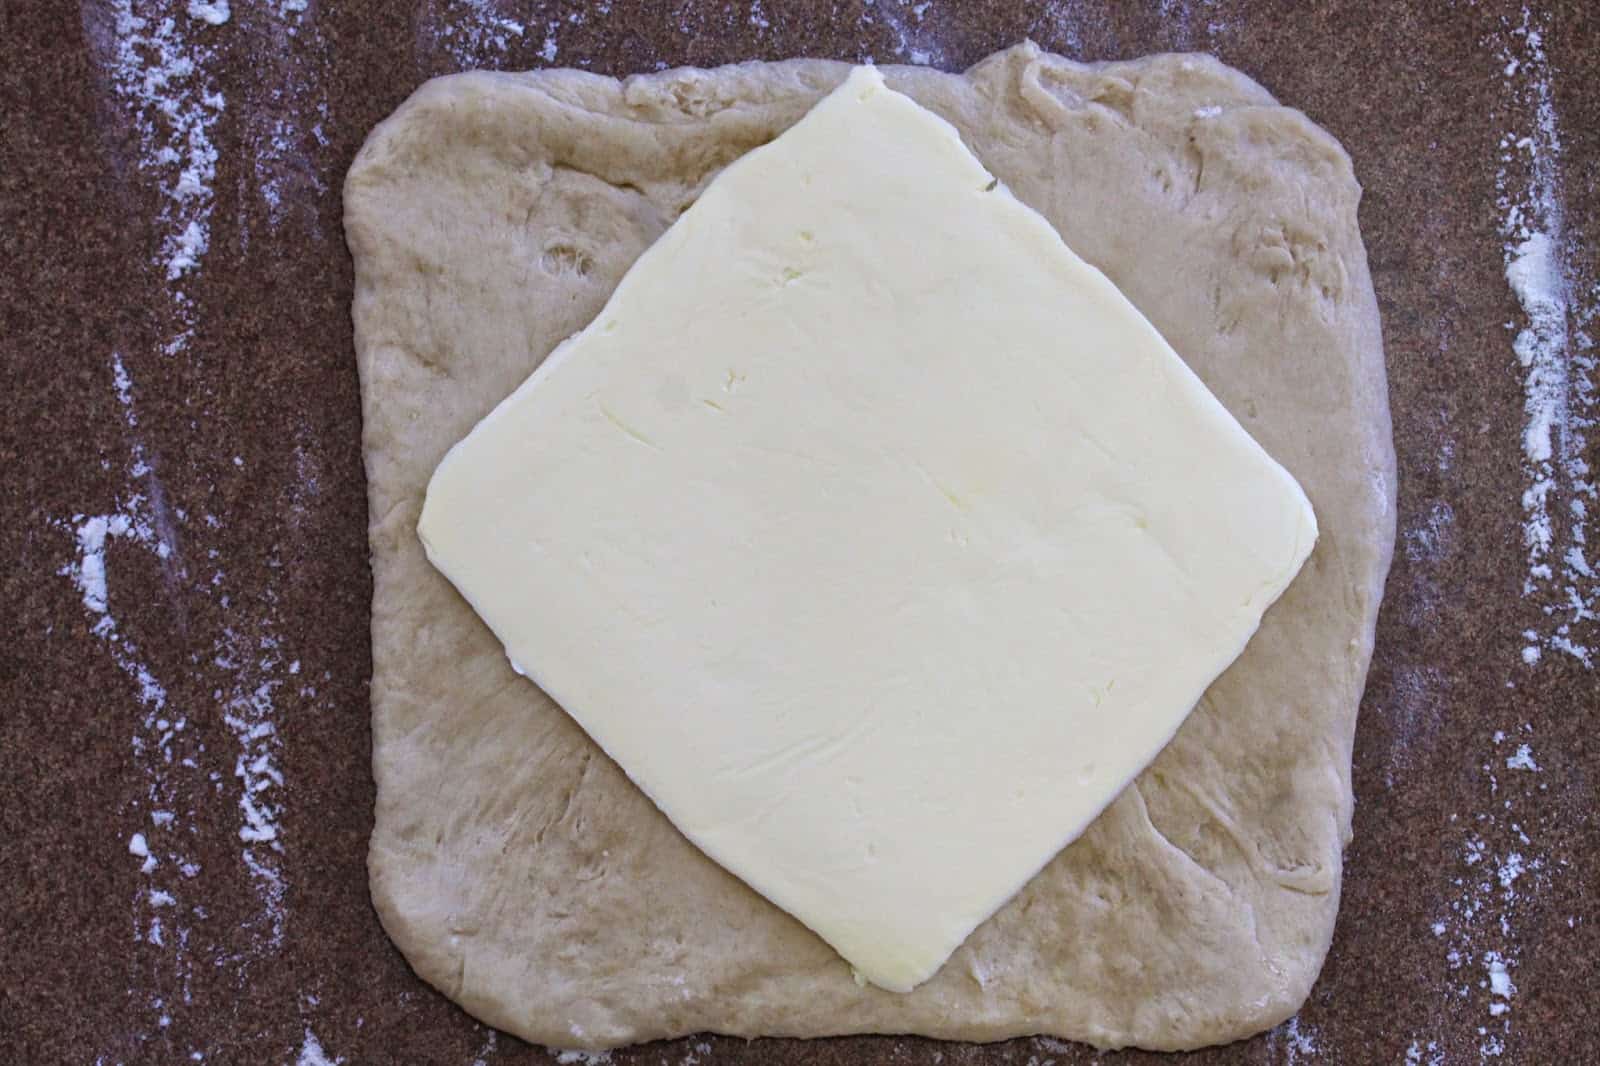
2. Roll the pastry dough into a 12-inch square. Place the butter in offset in the center of the dough so that it looks like a diamond in the middle of the dough.
3. Fold the edges of the dough up and over the butter to the center, covering the butter block completely.
4. Working from the center, roll the dough out into a 20-inch square. TIP: Measure your rolling pin for a guide. Mine is exactly 20-inches long.
5. Fold the dough in half (forming a 10-inch x 20-inch rectangle) and then in half again (forming a 10-inch square).
6. Repeat steps 4 and 5.
7. Wrap the dough in plastic wrap and refrigerate over night.
DAY 3
1. Remove dough from the fridge and let stand at room temperature for 1 hour.
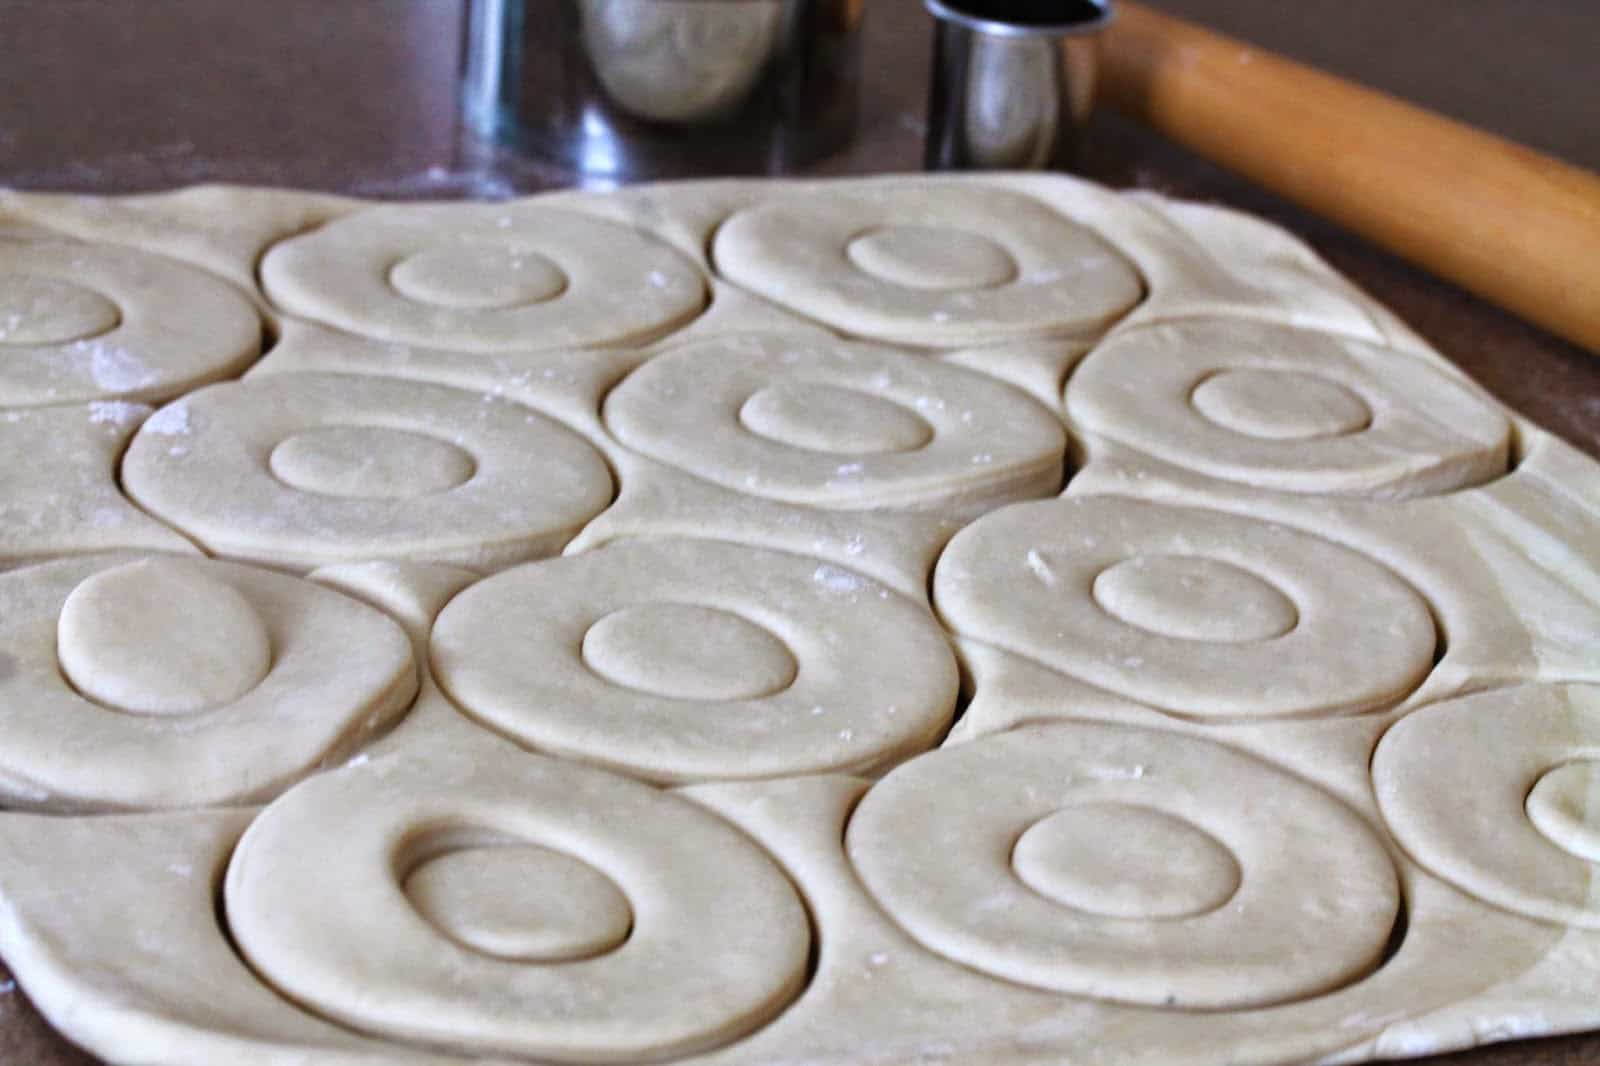
2. Roll the dough out into a 15-inch square, half an inch thick. Use a 3.5 inch donut cutter, or a 3.5 inch ring and a 1 inch ring, to cut donuts out of the dough.
3. Transfer the cronuts to a baking sheet lined with parchment paper. Space 2 to 3 inches apart. Cover loosely with plastic wrap and let rise 2 hours.
4. Heat the vegetable oil in a large saucepan or pot to 350 degrees. Use a candy thermometer to get the temperature right. Temperature is important!
5. Prepare the glaze by mixing together 1 cup powdered sugar, 1 tsp vanilla extract, and 1-2 TB cold water (as needed) until smooth and pourable.
6. Fry the cronuts in batches of 2-3 at a time. Fry for 90 seconds and then carefully flip them over to fry for another 60 to 90 seconds.
7. Remove from oil and place on a paper towel lined baking sheet or plate to drain.
8. While cronuts are still warm, drizzle glaze over tops.
9. Cool cronuts completely. Divide and fill with whipped cream and sliced strawberries, or other filling of choice.
Other filling ideas: pastry cream, nutella cream, chocolate cream.


0 Response to "Homemade Cronuts"
Post a Comment