Homemade Brioche Hamburger Buns
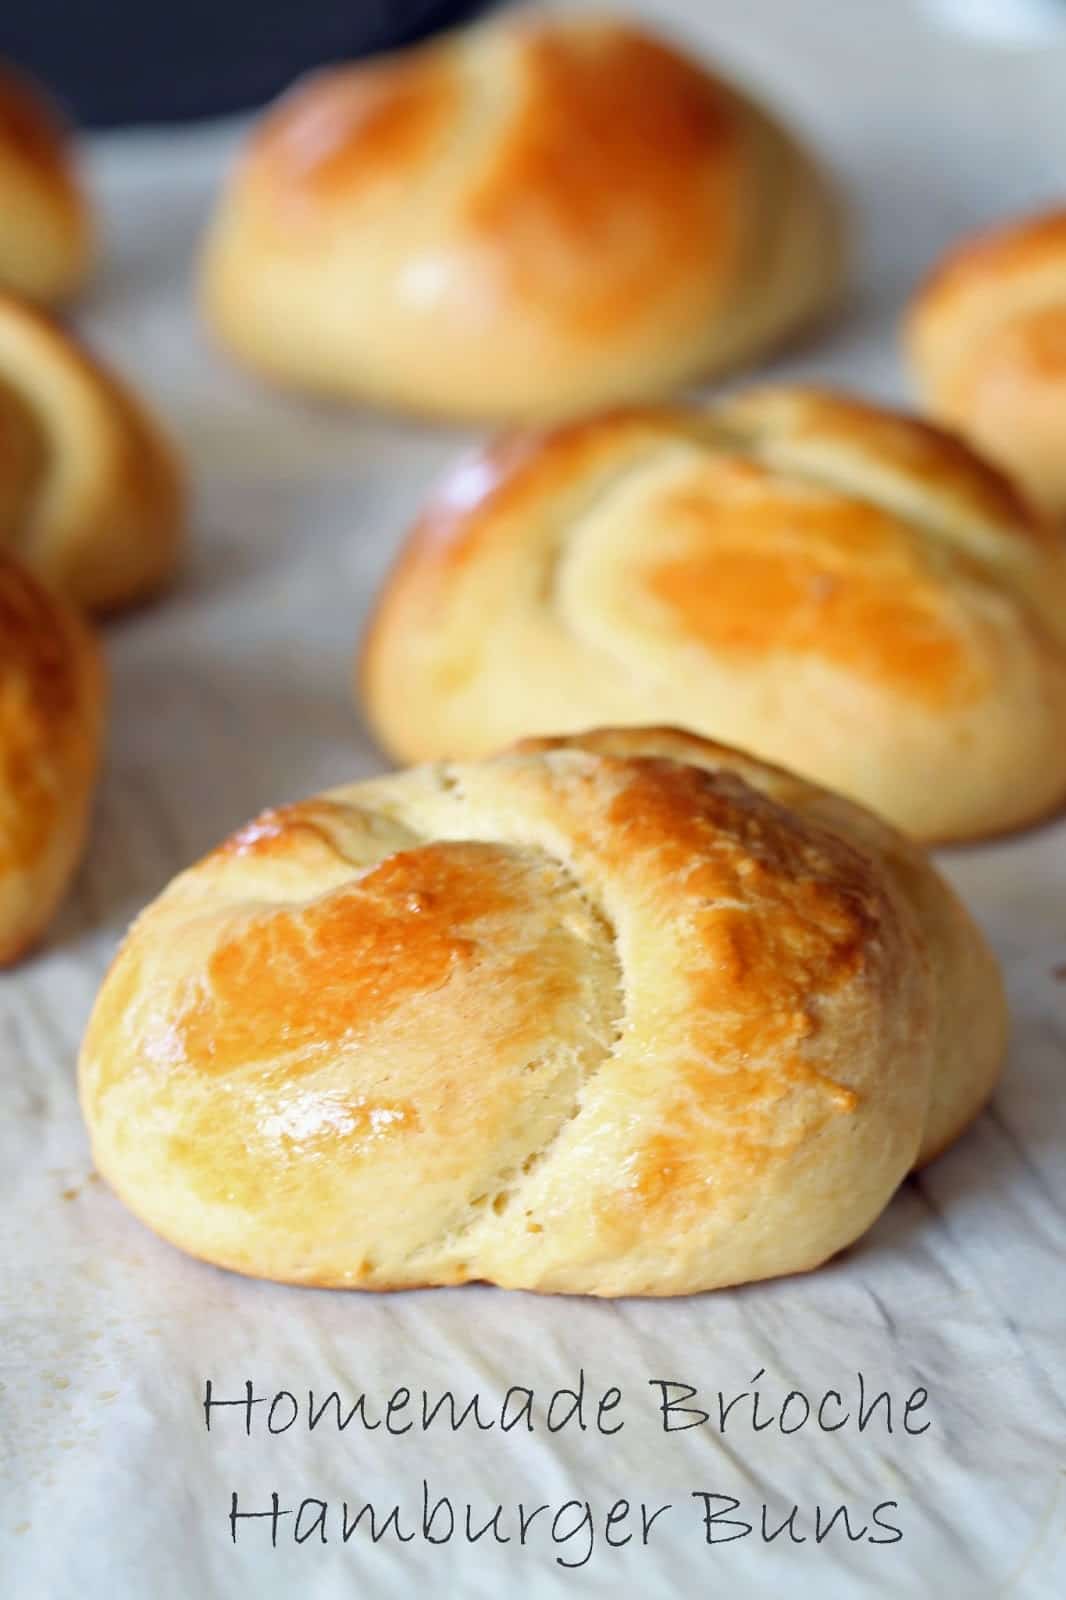
Making your own hamburger buns might seem like way too much effort, but you have to trust me on this. Making your own buns is so dang delicious you will wonder how you’ve been missing this your whole life. It will up the delicious factor on your burger by an order of magnitude. Now, I’ve shown you how to make homemade hamburger buns in the past. I had a couple friends recently make them and send me messages of love and adoration (I love you Christy and Amy!) which inspired me to go the extra mile and bring you a brioche bun. If you aren’t familiar with brioche, it is a buttery, soft bread that is quite luscious. The burger I was going to make was quite simple (a Caprese stuffed burger which you’ll see tomorrow), so I knew it could handle a buttery brioche bun quite well. I started my dough the night before my barbecue because brioche dough really has to be chilled in order to be able to handle it without a sticky mess. It ended up being extra convenient, because all I had to do the day of the barbecue was focus on my burgers and, oh ya, form the buns and pop them in the oven. So while it may seem like a lot of work for a homemade bun, it didn’t end up feeling that way at all. Put it together in the evening. Forget about it for a couple hours while you watch TV, and put it in the fridge before bed. Roll them out (or twist them all fancy like I did) and let them rise while the oven pre-heats and you worry about stuffing burgers an entertaining children. Bake while you cook your burgers and you have a fantastically fresh, soft, buttery bun that makes a freakin’ killer burger man. Take your burger to the next level peeps. You won’t regret it!
This isn’t some cheater dough that takes 40 minutes. This is a real brioche. Make it with love and respect. It deserves it!
Note: I made mine into mini burgers which are all the rage. Sliders are SOOOO 2012. Mini burgers are bigger, but not quite the huge burgers you get for fast food. You can make yours whatever size you like, even if you make “retro” sliders.
Prep Time: 30 minutes
Rise Time: 2 hours
Fridge Time: 6 hours to Overnight
Shape Time: 5 to 10 minutes
Bake Time: 15 to 25 minutes
Yield: 12 regular buns, 18 mini burgers, 24 sliders
Ingredients
5 eggs
2 1/4 tsp. active dry yeast
3 1/2 cupsall-purpose flour
1/3 cup warm milk
1/3 cup sugar
1 tsp salt
12 tablespoons (1 1/2 sticks, 3/4 cup) butter, softened
1 additional egg, beaten (for glaze)
Instructions
1. In the bowl of a stand mixer, combine 1 of the eggs, yeast, 1 cup of flour, and the warm milk. Mix together to form a sponge and let stand about 10 minutes for the yeast to start to grow.
2. Use the dough hook to mix in 1 more cup of flour, the sugar, salt, and the remaining eggs. Mix on a low speed, adding the remaining flour 1/2 cup at a time, until the dough starts to come together.
3. This is a very wet dough. Knead on low for 10 minutes, scraping the sides of the bowl if needed to get everything worked in to this very wet dough.
4. Add in the butter 1 tablespoon at a time, letting it knead in before adding the next tablespoon. Once all the butter has been added you’ll have a smooth, yellow dough that is very sticky.
5. Transfer the dough to a large well-greased bowl. Turn it to grease all the sides of the dough. Cover with plastic wrap and let rise for 2 hours.
6. Put the mixing bowl of dough into the fridge. Chill at least 6 hours, or overnight (up to 24 hours)
7. When you are ready to shape and bake the dough, remove the dough from the fridge and use lightly floured or greased hands to quickly shape the dough into 12 balls (for regular buns), 18 for mini burgers, or 24 balls for sliders. The faster you work, the less the dough will stick. Place the balls onto two parchment-lined baking sheets. Flatten them with the palm of your hand so that they are about 1/4-inch thick disks. *To shape them into a twist as pictured, see cooking lesson below.
8. Cover shaped buns and let rise for about 30-40 minutes.
9. Preheat oven to 350 degrees. Brush the buns with a beaten egg to form a nice glaze. Bake buns for 20-25 minutes, until golden brown. Smaller buns will require a decrease in cooking time. Watch closely after 15 minutes.
10. Transfer cooked buns to a wire rack to cool for at least 10 minutes before slicing.

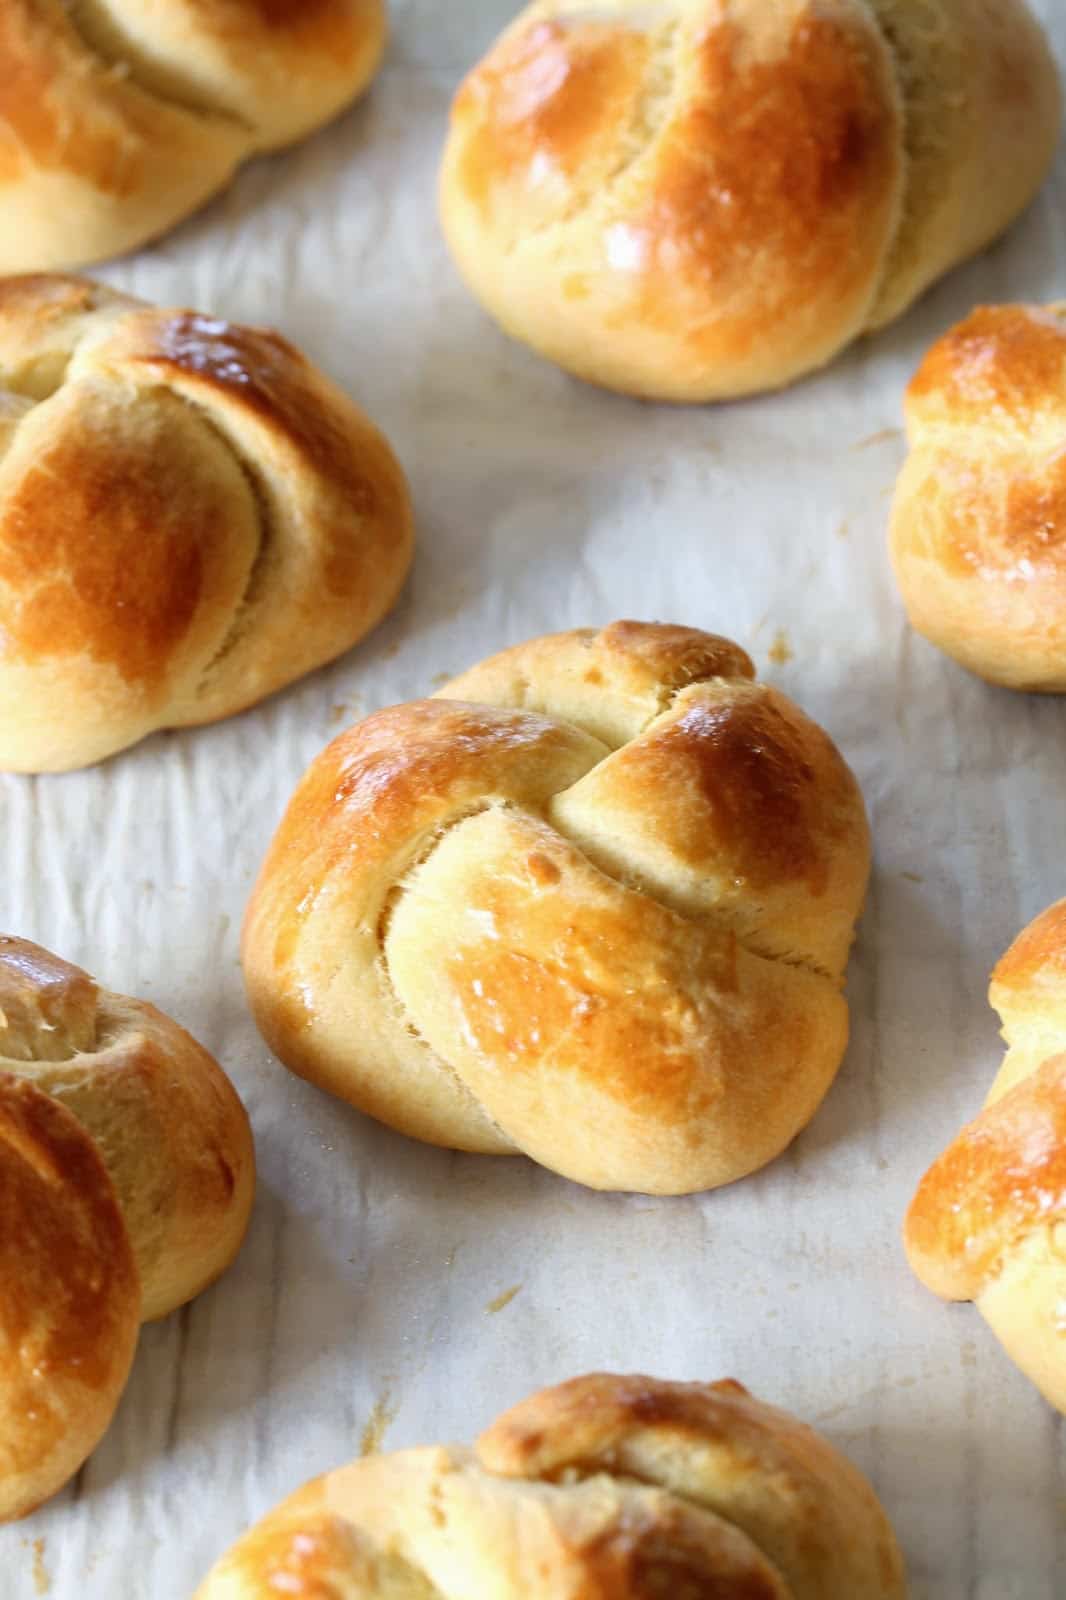
The buns in the photo are a knotted bun. Working one at a time, take your dough ball and roll it out into a long snake, maybe 12 inches long. Do not use flour to prevent sticking. Use a little bit of oil or nonstick spray. Tie the snake into a loose knot, which will leave you with two loose ends. Take the left side and wrap it back around the top, and take the right side and wrap it around the bottom of the knot, pinching them to connect it all into a beautiful knotted bun. It’s super easy and you’ll get the hang of it as soon as you do it once.
0 Response to "Homemade Brioche Hamburger Buns"
Post a Comment